
IPython Jupyter on EC2 for HPC, Part 2
In two previous articles, I’ve shown how you can get an Amazon EC2 instance set up, either from scratch or from the AMI created using that procedure. Now I’ll briefly discuss how to upload your .ipynb files and transfer larger datasets using scp.
#SSH In With the Public DNS you got from either Part 1, use the following command to SSH into your instance. When it asks if you want to continue connecting, enter ‘yes’:
$ ssh -i "/path/to/jupyter-key.pem" ubuntu@ec2-54-213-180-27.us-west-2.compute.amazonaws.com
The authenticity of host 'ec2-54-213-180-27.us-west-2.compute.amazonaws.com (54.213.180.27)' can't be established.
ECDSA key fingerprint is 59:a7:d8:bd:65:ff:62:64:8c:13:c3:18:03:ec:9b:e5.
Are you sure you want to continue connecting (yes/no)? yes
Warning: Permanently added 'ec2-54-213-180-27.us-west-2.compute.amazonaws.com,54.213.180.27' (ECDSA) to the list of known hosts.
Welcome to Ubuntu 14.04.3 LTS (GNU/Linux 3.13.0-74-generic x86_64)
#Start GNU Screen and Jupyter When running long programs, you will get the dreaded ‘Connection closed by remote host’ error. Screen is a great tool for keeping your session alive and eliminates the frustration of coming back to your terminal and seeing that your calculation didn’t complete. Gary Gogick has a great guide on screen here.
Start a new screen session:
$ screen -S jupyter
Use the following commands to start Jupyter Notebook:
$ cd ~/Notebooks
$ jupyter notebook
Now Jupyter is running inside the screen session. You can disconnect the screen session by pressing ctrl+a+d. To get back into the screen session:
$ screen -ls
	1307.jupyter	(02/15/2016 04:30:26 AM)	(Detached)
1 Socket in /var/run/screen/S-ubuntu.
$ screen -r 1307
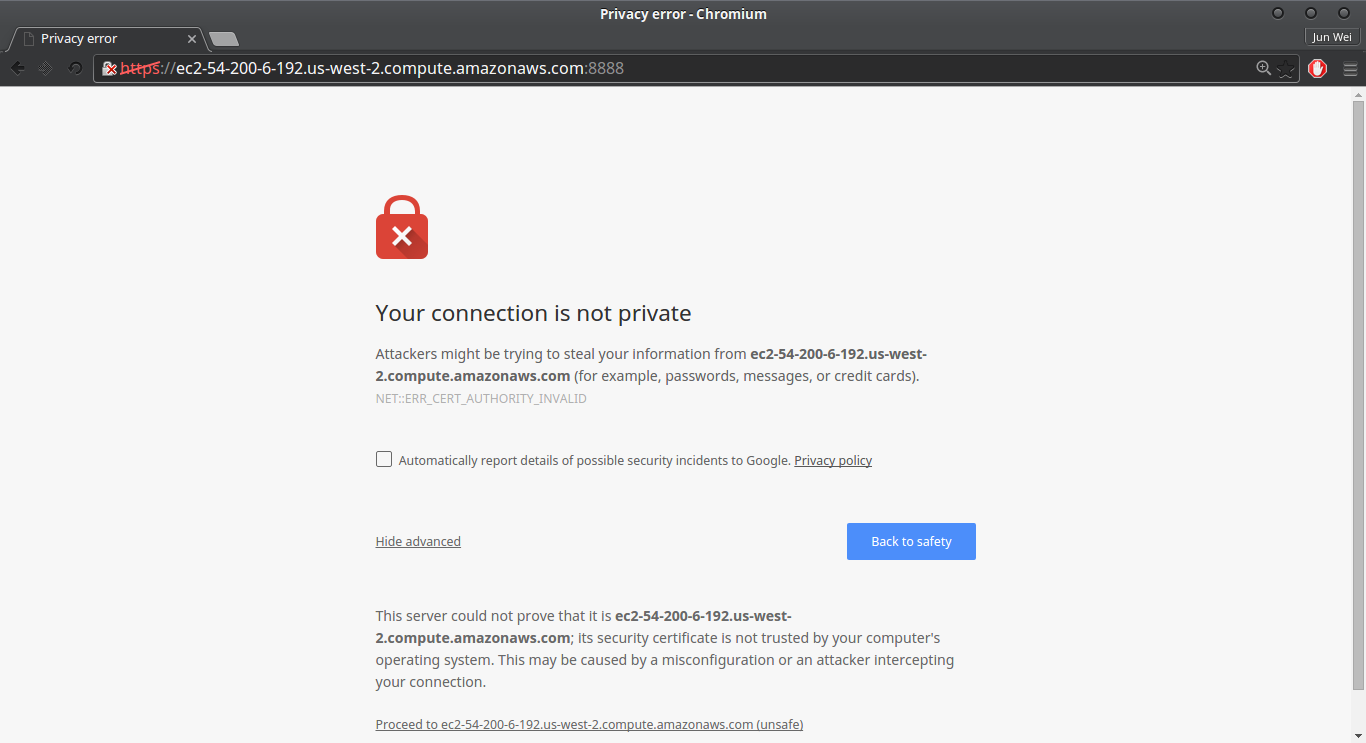
#Run Jupyter from the Browser Now you can fire up your browser and navigate to your instance:
https://ec2-your-instance-details-from-above.compute.amazonaws.com:8888
You will get a warning that the connection is not private, but this is because you created the certificate above. Select Proceed.
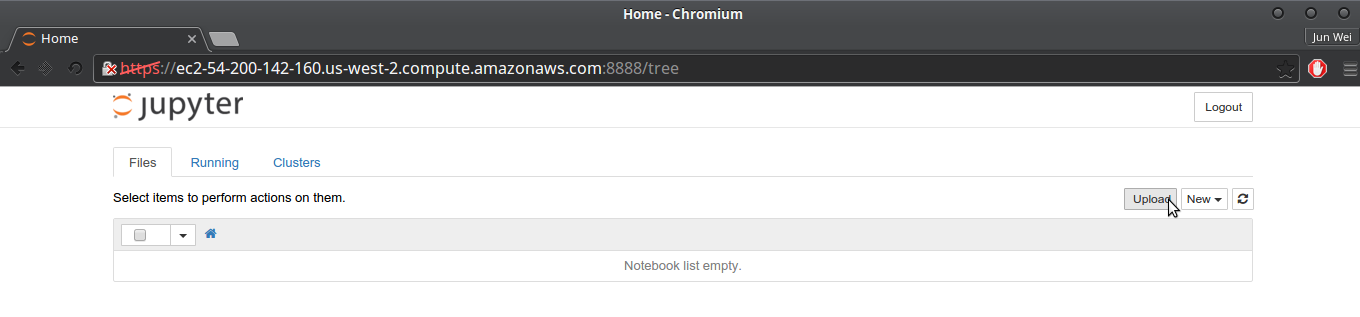
Enter ‘ec2jupyter’ as the password to access Jupyter.

#Uploading
From this screen, you can use the Upload button to upload your .ipynb files but I have never had success in uploading any datasets. To do this we will use scp. Amazon’s full guide of this is here:
scp -i /path/to/jupyter-key.pem dataset.csv ubuntu@ec2-your-instance.compute-1.amazonaws.com:~/notebooks
#Wrap Up That’s pretty much it! You should have a fully functional (and most importantly resizable) EC2 instance at your disposal and can get to the fun part of data science!