IPython Jupyter on EC2 for HPC Quickstart, Part 1
In my post here, I gave a procudure on how to create an EC2 instance from scratch and load IPython/Jupyter on it. I’ve saved the image created from that and made it available for free so you can get going super quickly using Ipython/Jupyter on your EC2 instance with minimal command line interfacing.
-
Sign up for AWS, if you havent done so. Amazon offers a free tier for the first year; you can initialize all ec2 instances in the free t2-micro tier and not spend money on more performance until you find you really need it.
-
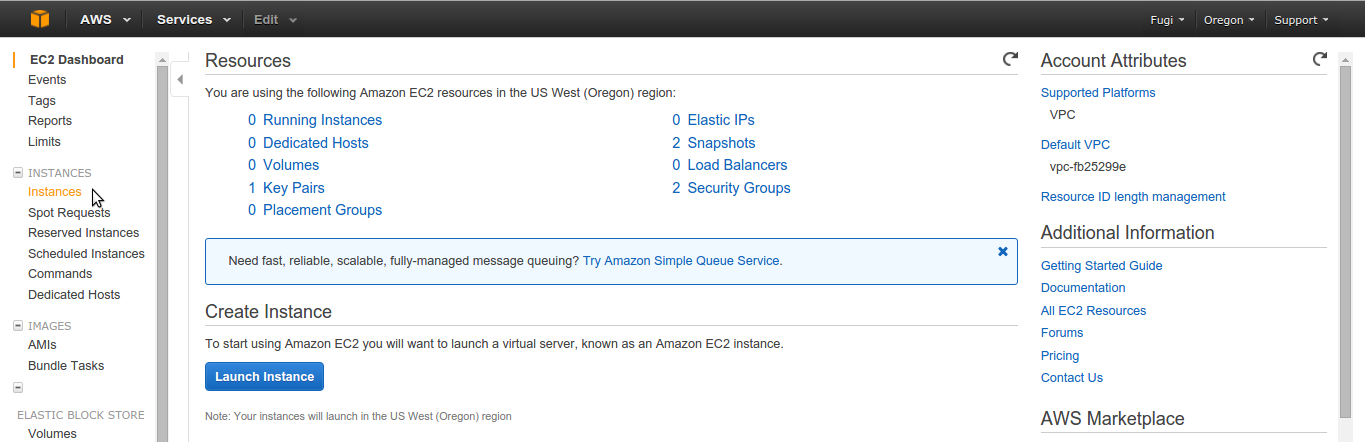
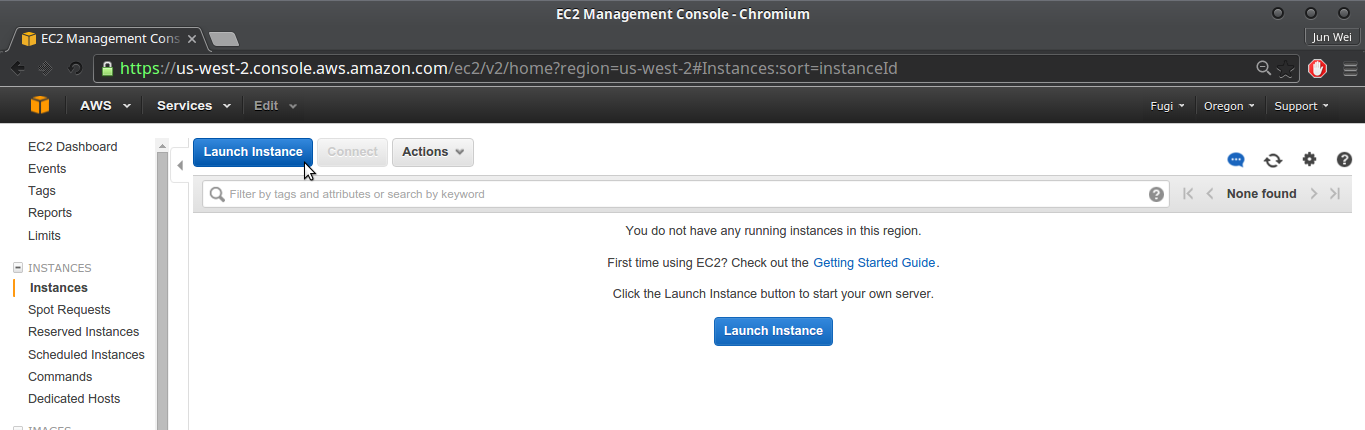
Go to the EC2 Console and select Instances on the sidebar.
-
Select Launch Instance
-
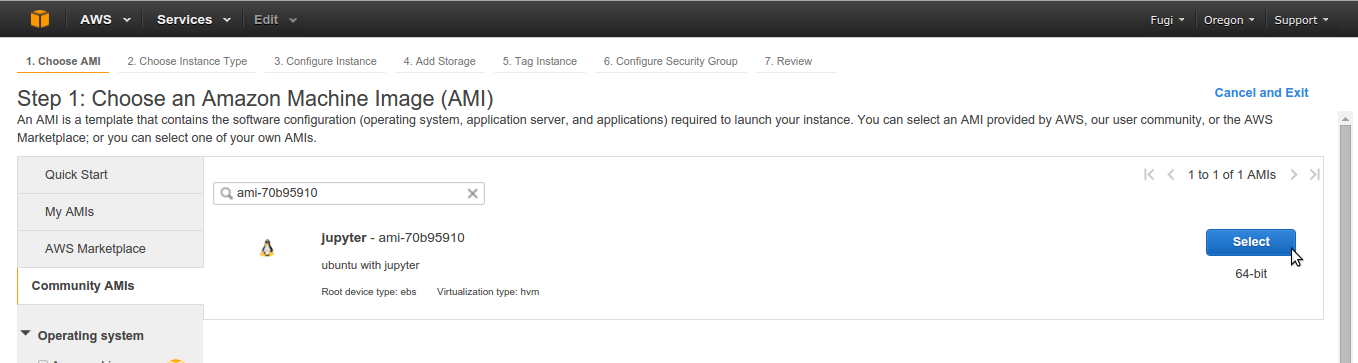
Select Community AMIs and search for ‘ami-70b95910’ and select.
-
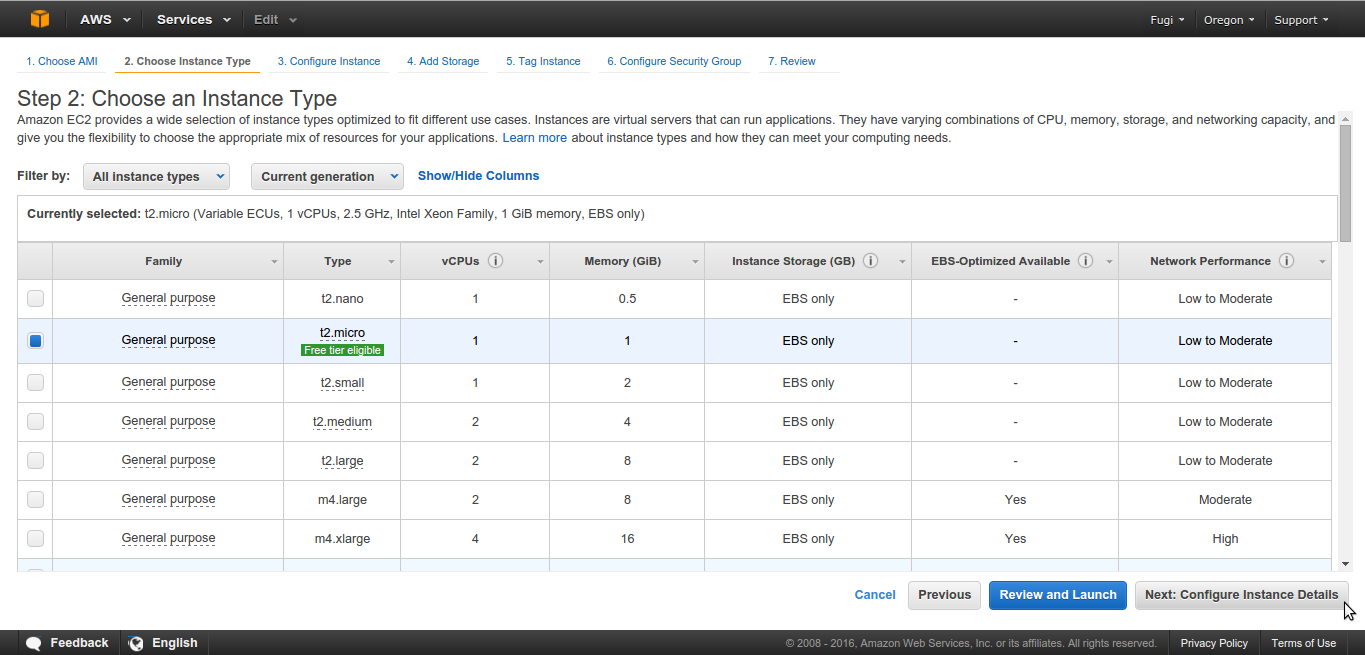
Select Instance Type. For free usage, go with t2.micro. You can change the instance type later even if you’ve modified the instance.
-
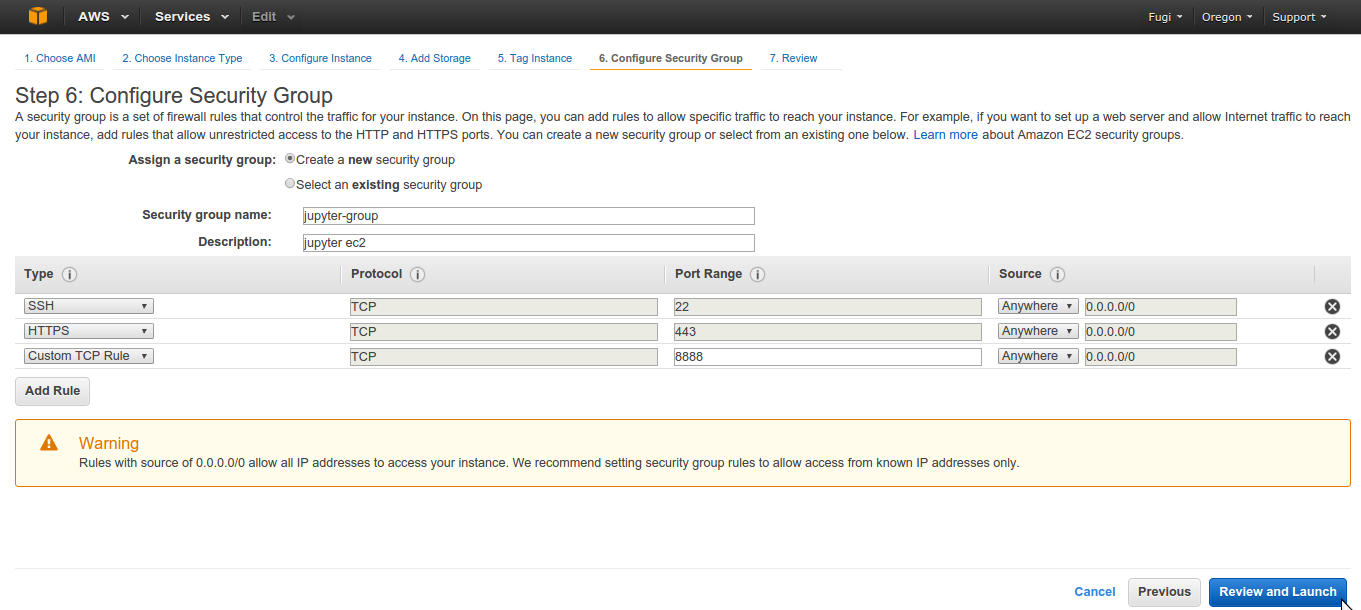
On the next three screens, no changes need to be made to default values. Keep selecting Next until you get to Configure Security Group. Here you will want to add rules for HTTPS as well as Jupyter. Thanks to Piyush’s guide here for help on this. Once this is configured, select Review and Launch.
-
On the Review Instance Launch screen, when Launch is selected, you will be asked to create a new keypair. Name the keypair ‘jupyter-key’ and download. You will need this to SSH into your instance and to SCP datasets. Then select Launch Instance.

-
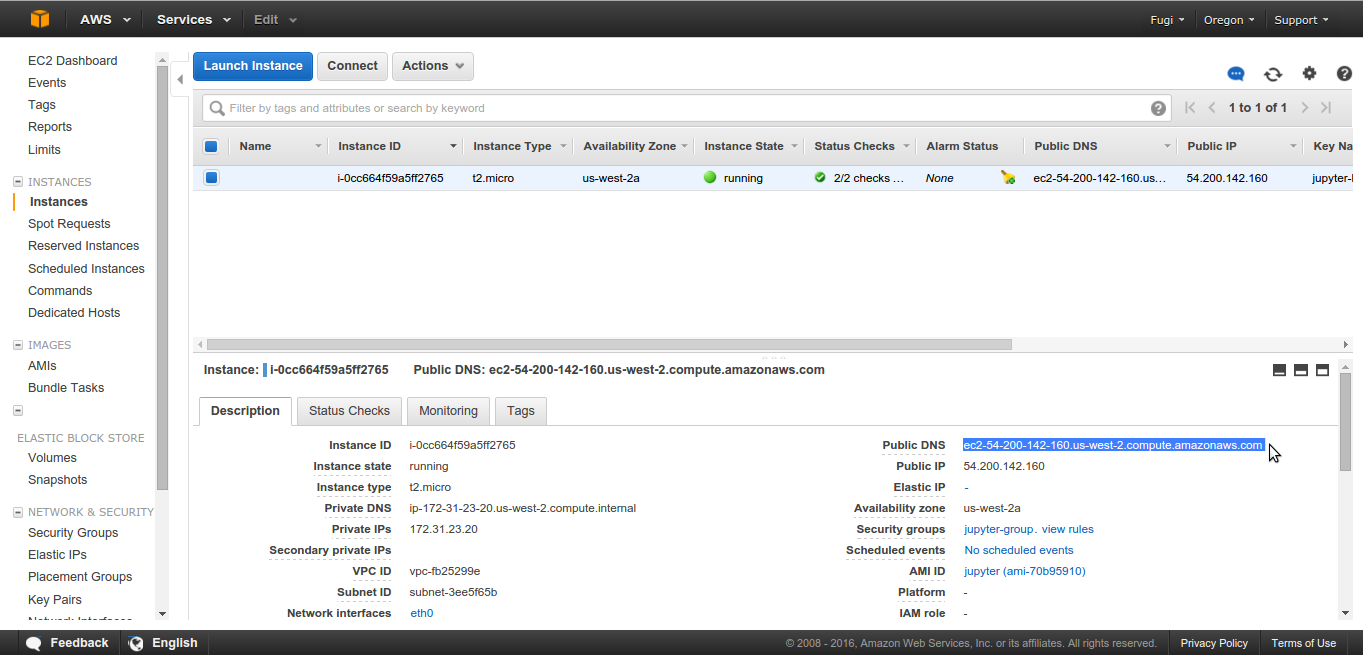
You’re done! Head back to the EC2 Console and select Instances on the sidebar. Once your instance state goes from ‘pending’ to ‘running’, select it and note the Public DNS. You’ll need this for Part 2.